Running the Backup4all Monitor setup allows you to install the Monitor Server and/or the Monitor Dashboard. If you need to install only the Monitor Dashboard on another computer, you must check only the "Dashboard" option.
On this page:
- How to install the Monitor Server and Monitor Dashboard on the same computer
- How to install the Monitor Server and Monitor Dashboard on different computers in the same network
- How to install the Monitor Server and Monitor Dashboard on different remote computers
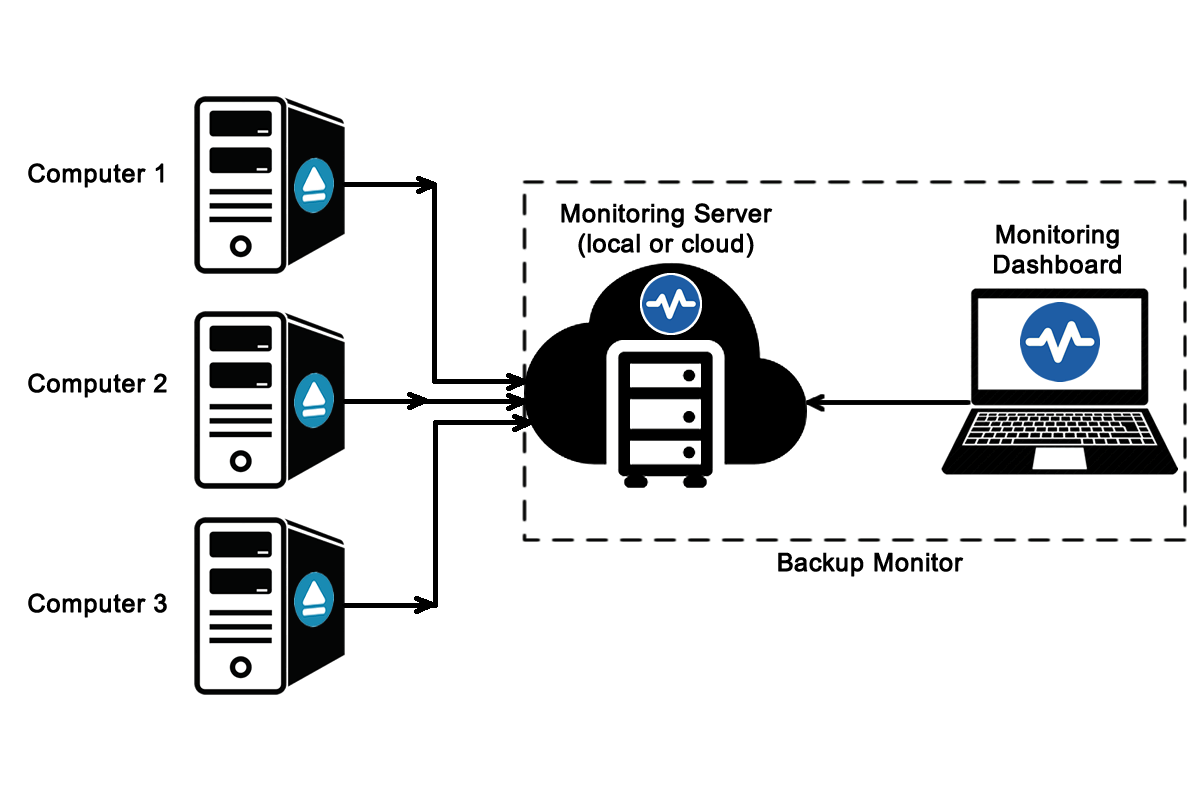
Backup4all Monitor has two parts: the Monitor Server and the Monitor Dashboard.
- The Monitor Server will be installed only on the server where the reports will be received
- The Monitor Dashboard will be installed with the server (at least to configure it) and it can also be installed individually on any computer you need to use when monitoring the backups.
![Backup4all Monitor - Backup4all Monitor Backup4all Monitor - Backup4all Monitor]()
Requirements:
- Microsoft .NET Framework is required to install Backup4all Monitor.
- Windows Server 2019/Server 2016/10/Server 2012/8.1/8/Server 2008/7/Vista
- 100MB of free disk space
How to install the Monitor Server and Monitor Dashboard on the same computer
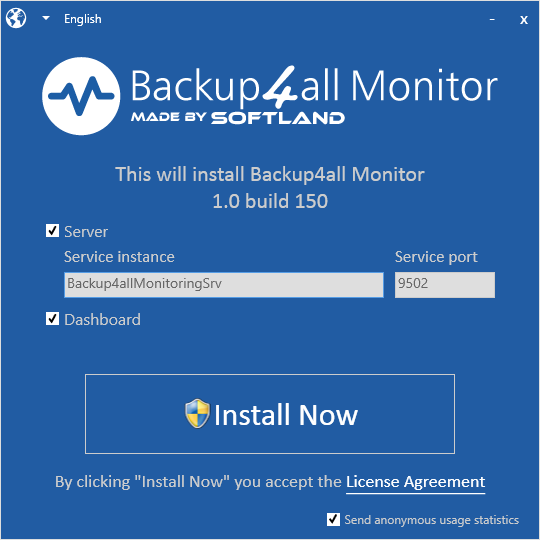
When running the full setup, make sure both checkboxes for Server and Dashboard are selected
Here you must enter the Service instance and the Service port. Both are automatically filled by default. You can use the default values or you can enter your own instance name and port. Then you can press “Install now” button to start the installation.
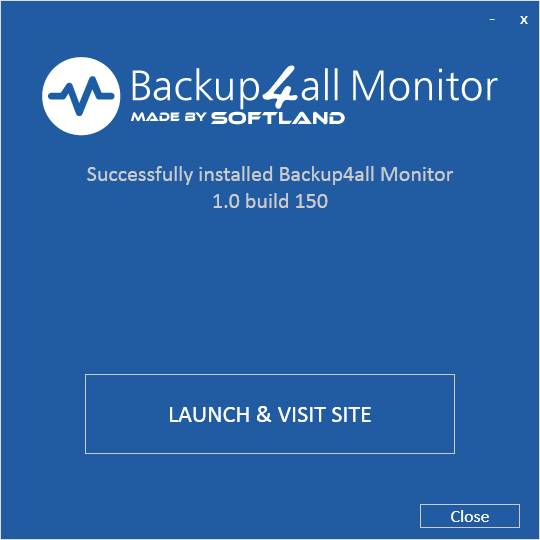
At the end, you will get a confirmation about the successful installation:
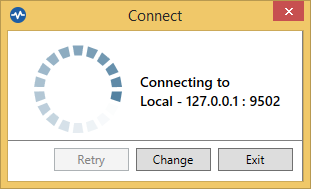
Running the Monitor Dashboard after that, will automatically detect the Monitor Server and will connect to it.
How to install the Monitor Server and Monitor Dashboard on different computers in the same network
In this case, on the server computer, run the setup with both “Server” and "Dashboard" checkboxes selected. (Dashboard also needs to be installed on the Server computer to easily manage the server activation and licenses)

On the Dashboard computer, run the setup with only the “Dashboard” option selected.
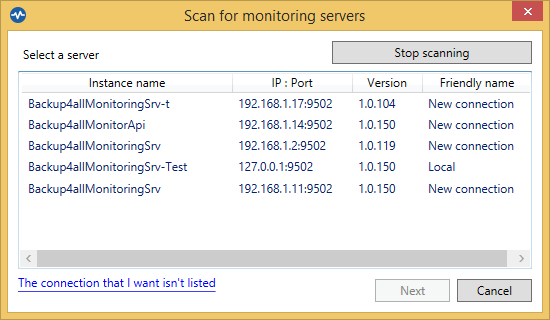
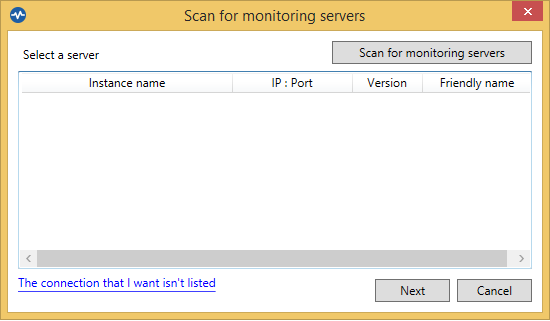
When running the Dashboard Monitor on the Dashboard comptuer, the “Scan for monitoring servers” window will appear. It will scan the local network for the Monitoring Server. When the server is found and listed, you can select it and press Next.
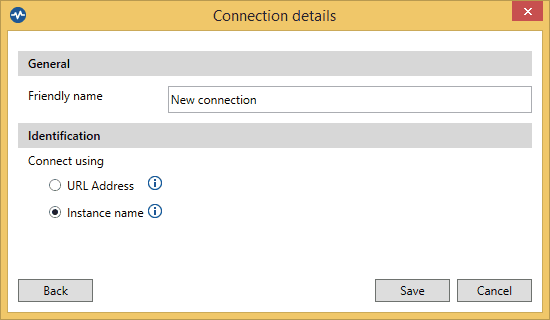
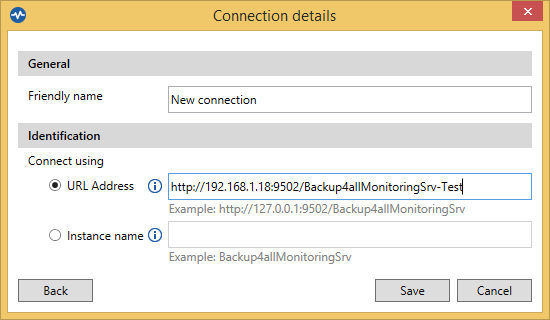
On the “Connection details” page, you can give a friendly name to the connection and you can also select how that Monitor Server will be identified: by URL Address or by Instance name.
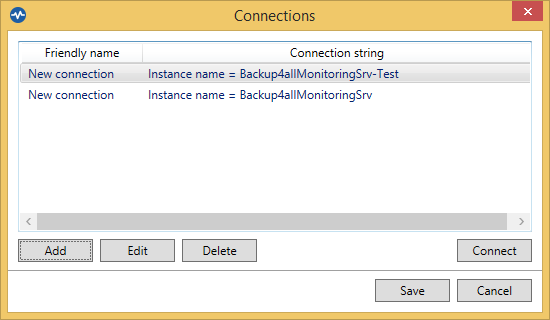
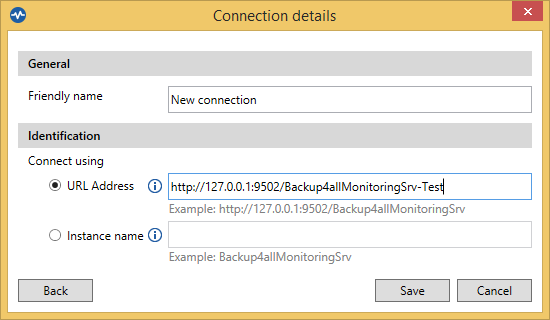
If for some reason, the server wasn’t listed, press the link “The connection that I want isn’t listed” and a new window will appear, where you must enter the IP, port number and Instance name of the Monitoring Server you want to connect to. Then press Save.
How to install the Monitor Server and Monitor Dashboard on different remote computers
If the server is in a remote/cloud location, on the server computer run the setup with both “Server” and "Dashboard" checkboxes selected. (you can also use a cloud (Amazon/Azure) virtual machine for the Monitor Server.)
On the Dashboard computer, run the setup with only the “Dashboard” option selected.
When running the Dashboard, the “Scan for monitoring servers” window will appear. Press the link “The connection that I want isn’t listed”
A new window will appear, where you must enter the URL Address, in the correct format: IP, port number and Instance name of the Monitoring Server you want to connect to. Then press Save.
Then you will be able to connect to that server by selecting it and pressing the "Connect" button.
