The Hitachi Vantara company is providing various services in the fields of Big Data, business analytics, the Internet of Things. They have recently also decided to assert themselves as a cloud storage vendor.
Hitachi Vantara implements several features that enhance their object storage service. Content Intelligence and Content Platform help in unifying stored data on the hybrid storage network, while Data Ingestor is a secure cloud gateway that is also simplifying file access and allows for easy deployment at a low cost.
Backup4all can access your Hitachi storage through the S3 Compatible protocol.
How to set up a new Hitachi account
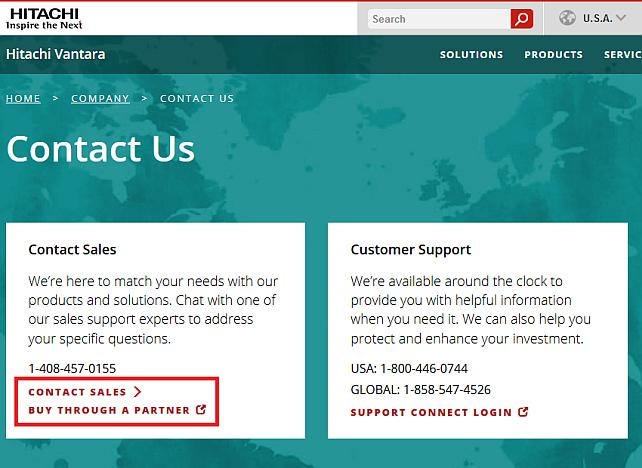
2. Click on "Contact Sales" to contact a Hitachi Vantara representative and get started or on "Buy Through a Partner" to search for a reseller in your area.
How to backup to Hitachi
Steps to follow:
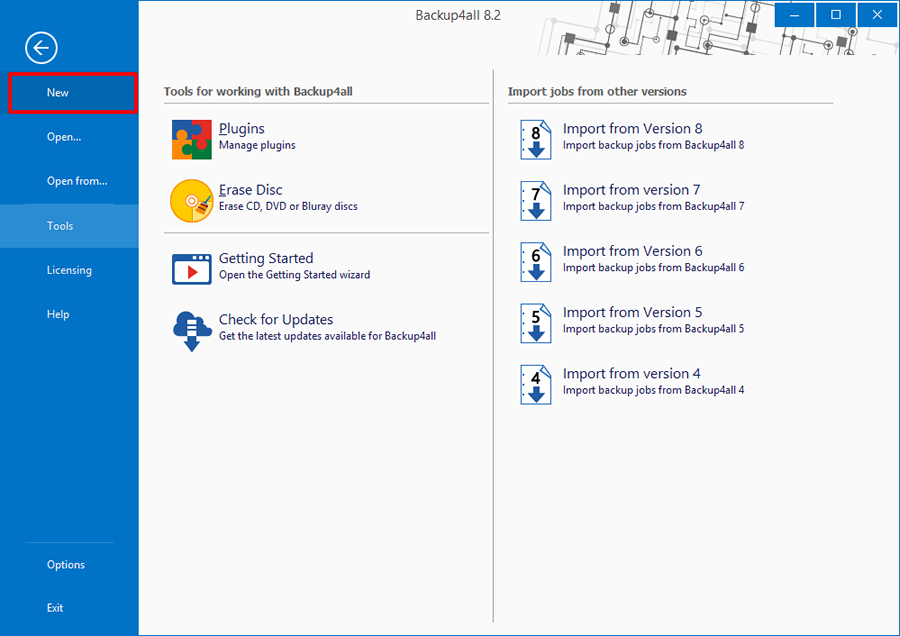
1. Open Backup4all and select File -> New (Ctrl+N).
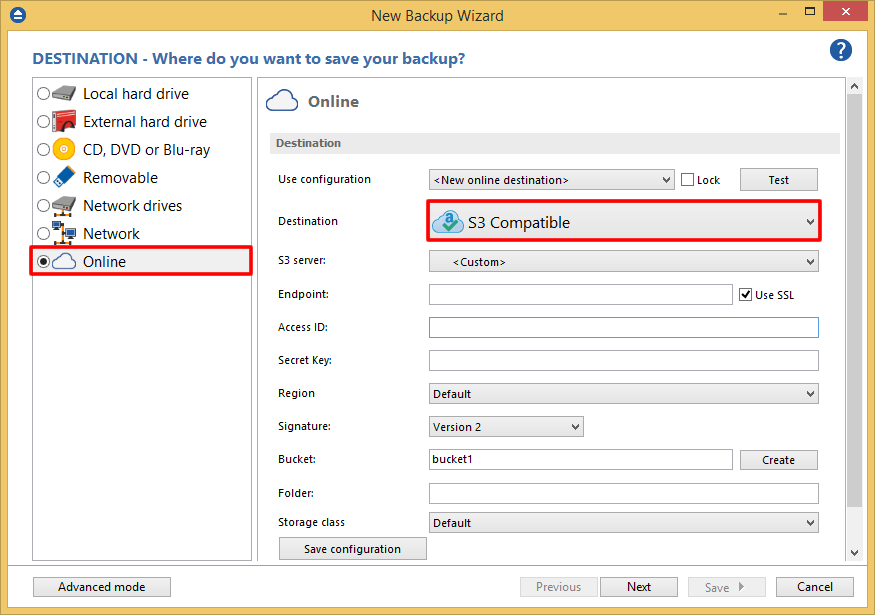
2. On the Where do you want to save the backup? page, select Online -> S3 Compatible as backup destination. Fill the necesarily fields and press Next
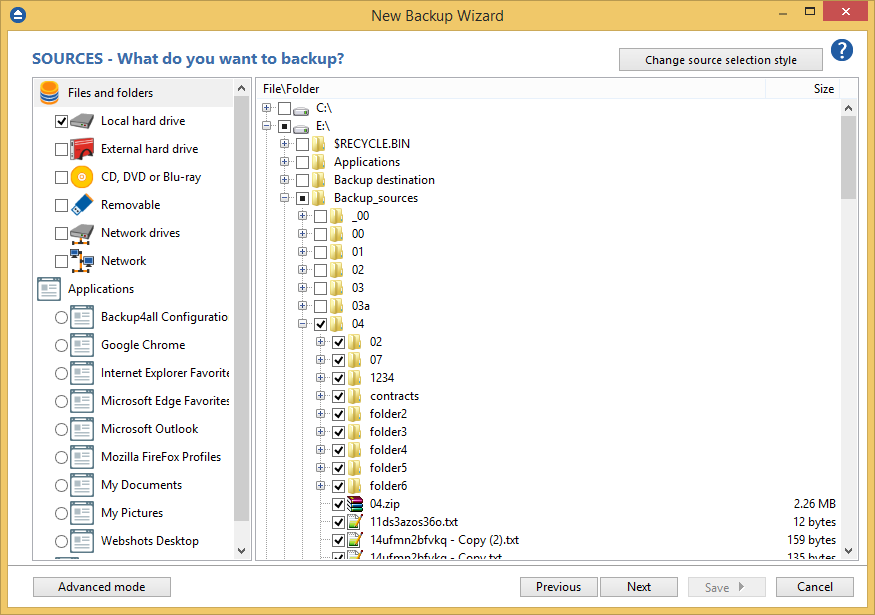
3. On the What do you want to backup page, add the backup sources. Press Next.
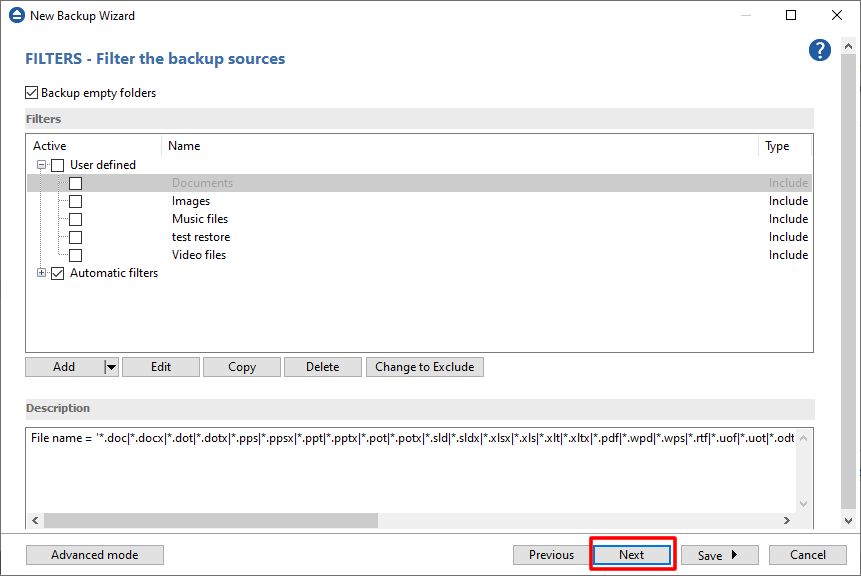
4. On the Filter the backup sources page, you can set include/exclude filters for backup sources. Then press Next.
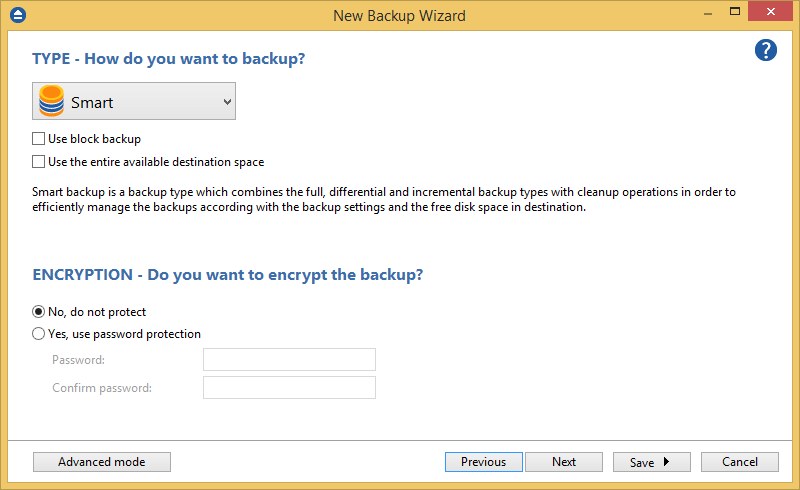
5. On the How do you want to backup page, you can choose the backup type and the encryption.
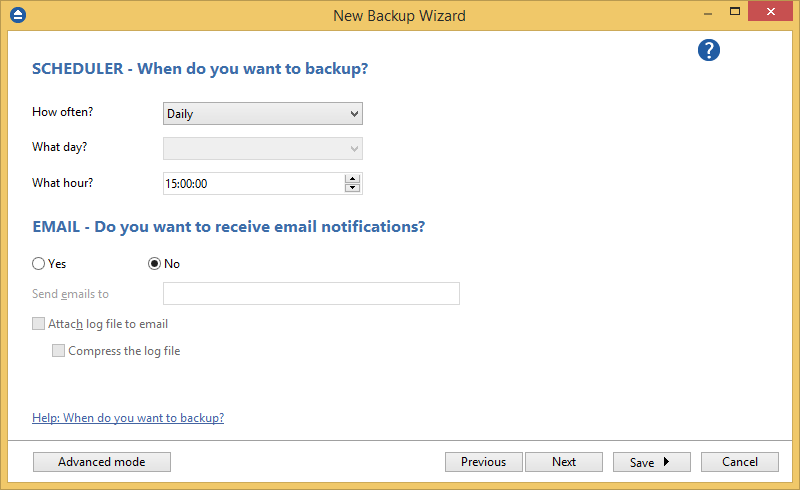
6. On the When do you want to backup page, you can set the backup job to automatically run on the specified time and days. Press Next.
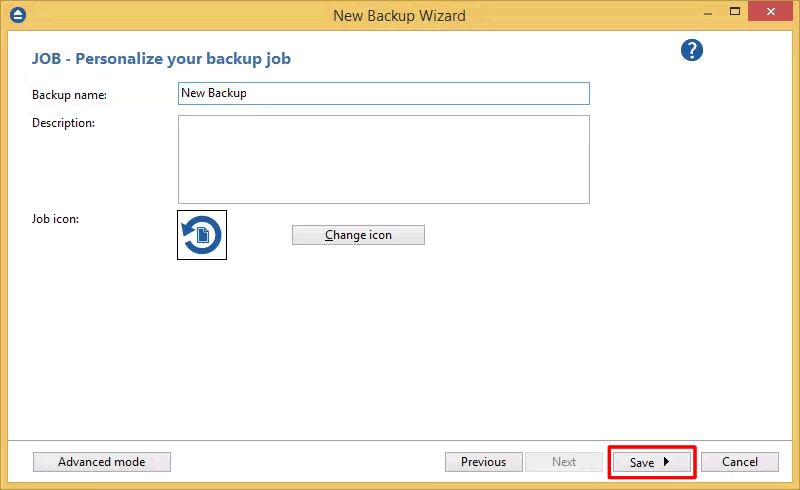
7. On the Personalize your backup job page, enter a name for the backup in the Backup name field.
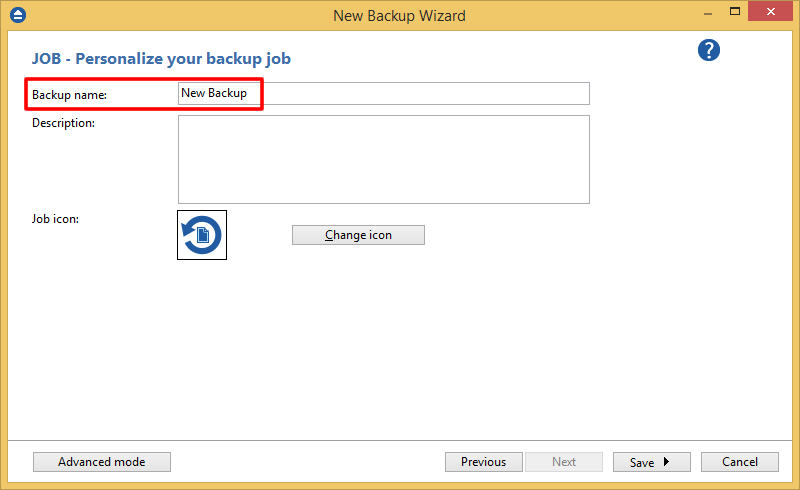
8. Press Save -> Save and run.
How to restore from Hitachi
Steps to follow:
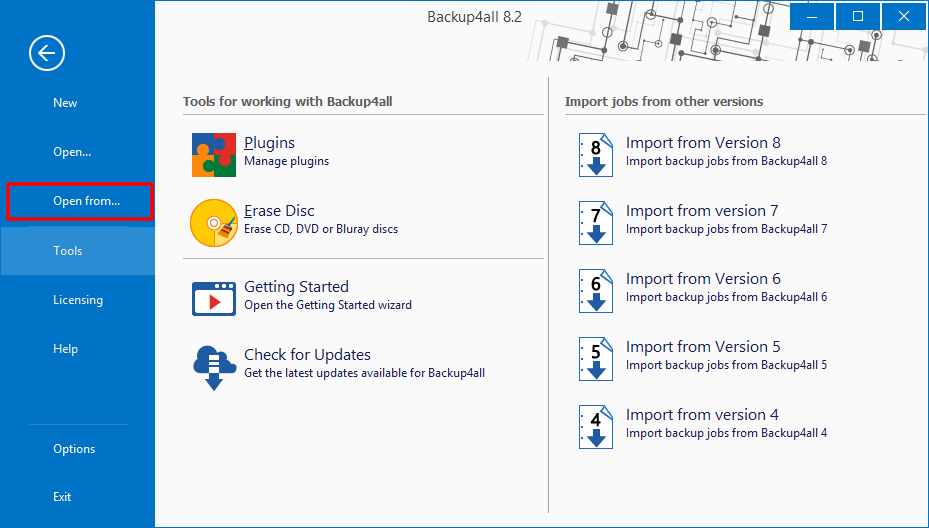
1. If the backup job does not exist in Backup4all, you must open it from File->Open from.
2. Select S3 Compatible, then choose Hitachi. Configure the Hitachi account.
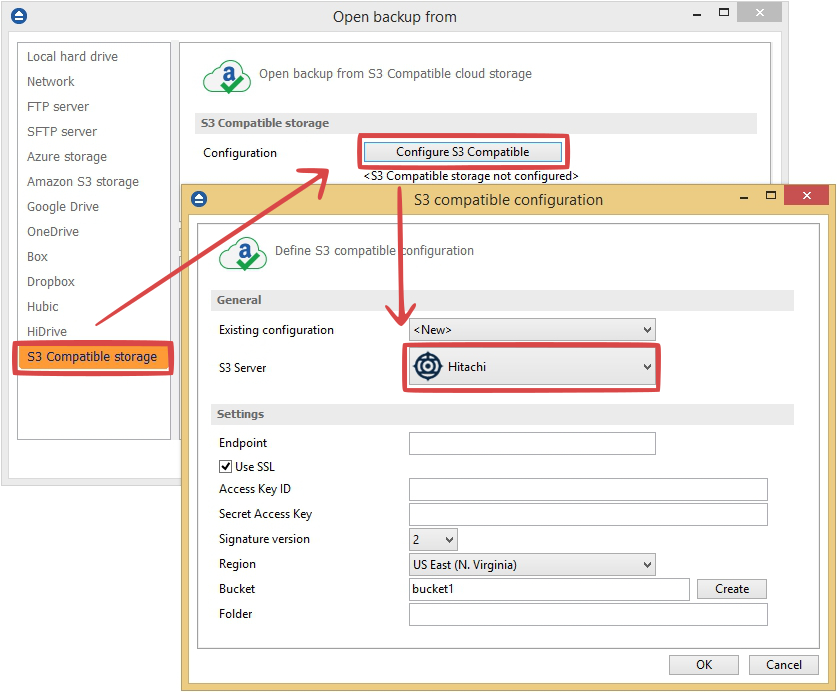
3. After the Hitachi account was set, press Show to display the backup jobs in the destination. Select the catalog you want to open and press Open. Backup4all will recreate that backup job.
4. Press the Restore (F7) button. Optionally you can select the location you want to restore the files to. The original location is selected by default.
On the same page, you can choose the way in which to restore. You can also filter files before restoring. If you select to restore from a specific version, press Next to indicate the version or the date back to which you want to restore. Press Next.
5. Press Finish to start the restoration process.


