Backblaze is a data storage provider. It offers two products: B2 Cloud Storage - An object storage service similar to Amazon's S3. Computer Backup - An online backup tool that allows Windows and macOS users to back up their data to offsite data centers.
Backblaze is a pioneer in robust, scalable low cost cloud backup and storage services. Personal online backup to enterprise scale data storage solutions
In this article you can find how to make a new Backblaze account and how to create a backup to Backblaze using Backup4all.
How to set up a new Backblaze account
To create a new Backblaze account, please follow these steps:
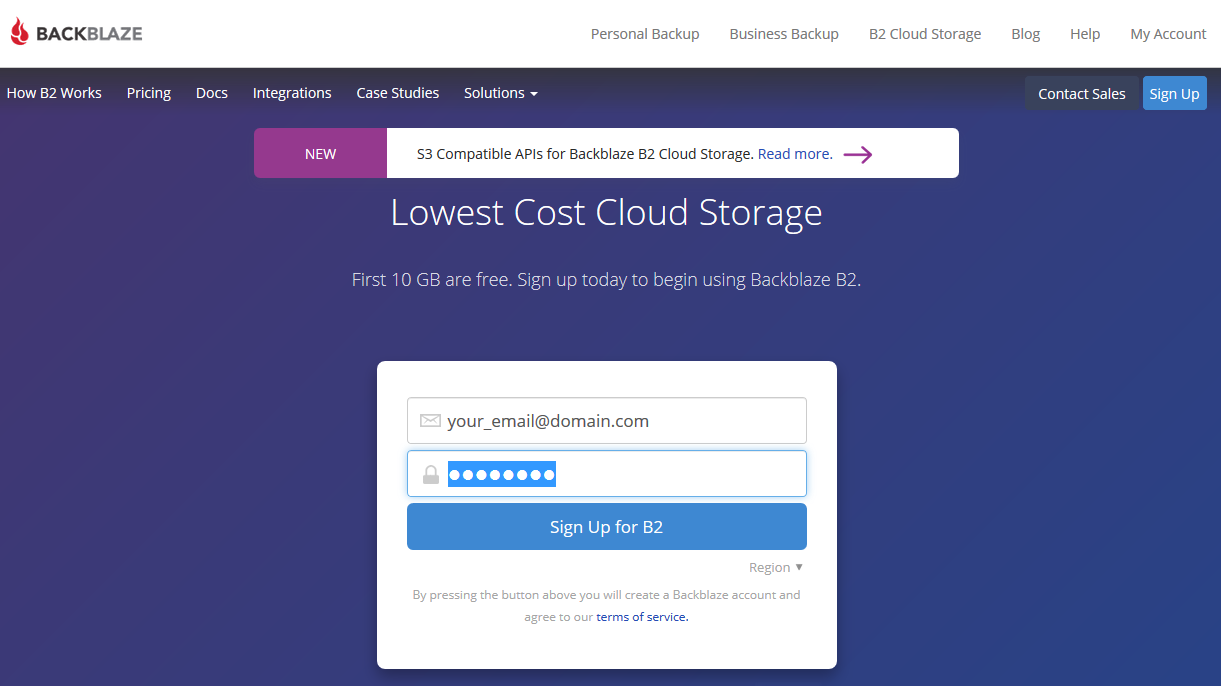
- Go to https://www.backblaze.com/b2/sign-up.html
- Enter your email and password, then press Sign Up for B2
![]()
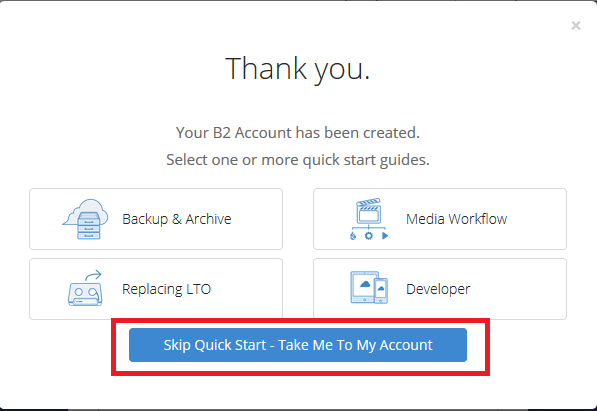
- You will be asked if you want to follow the quick start guides. Press Skip Quick Start
![]()
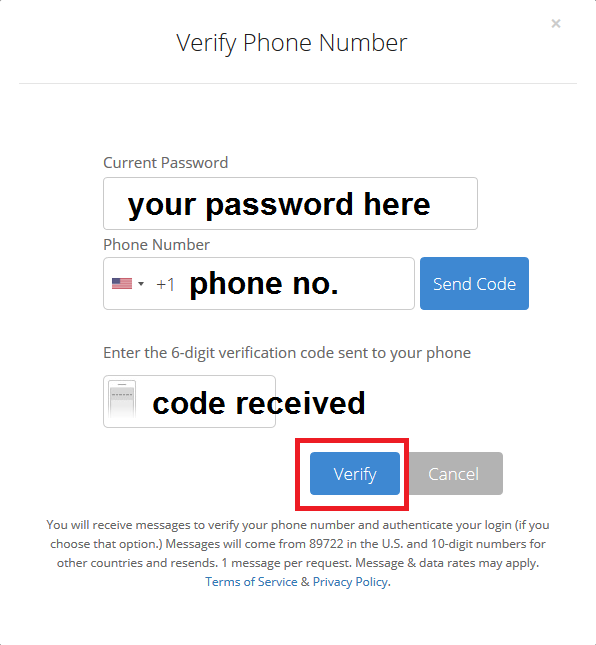
- You will be asked to confirm your phone, enter the phone number and then the confirmation code received. Press Verify
![]()
![]()
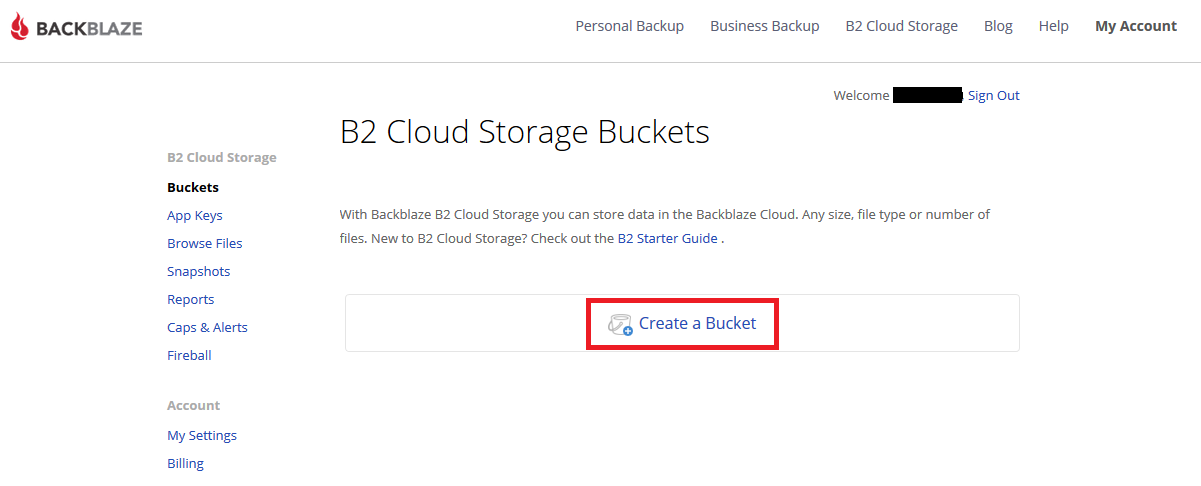
- In your Backblaze account on Buckets page, press Create Bucket
![]()
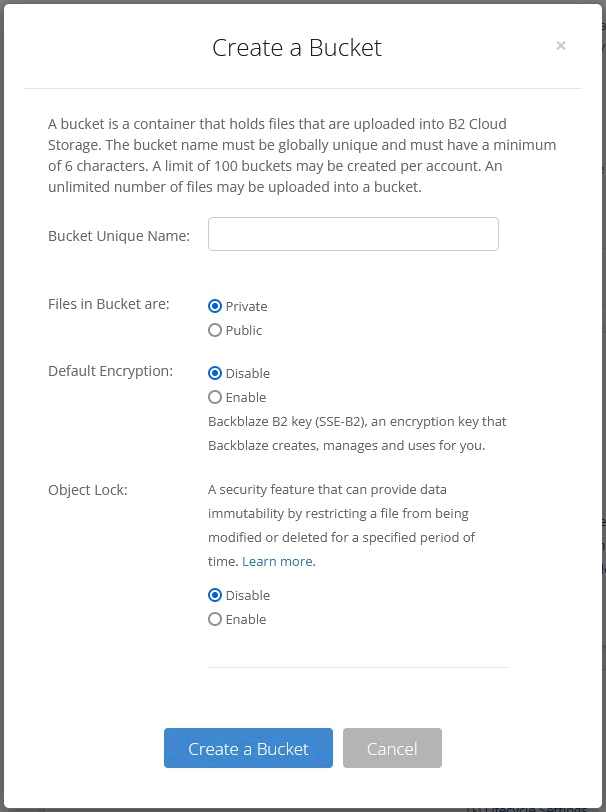
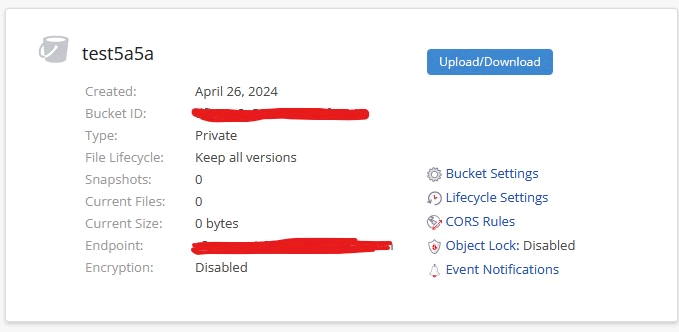
- Enter a name for your bucket and press Create a bucket
![]()
![]()
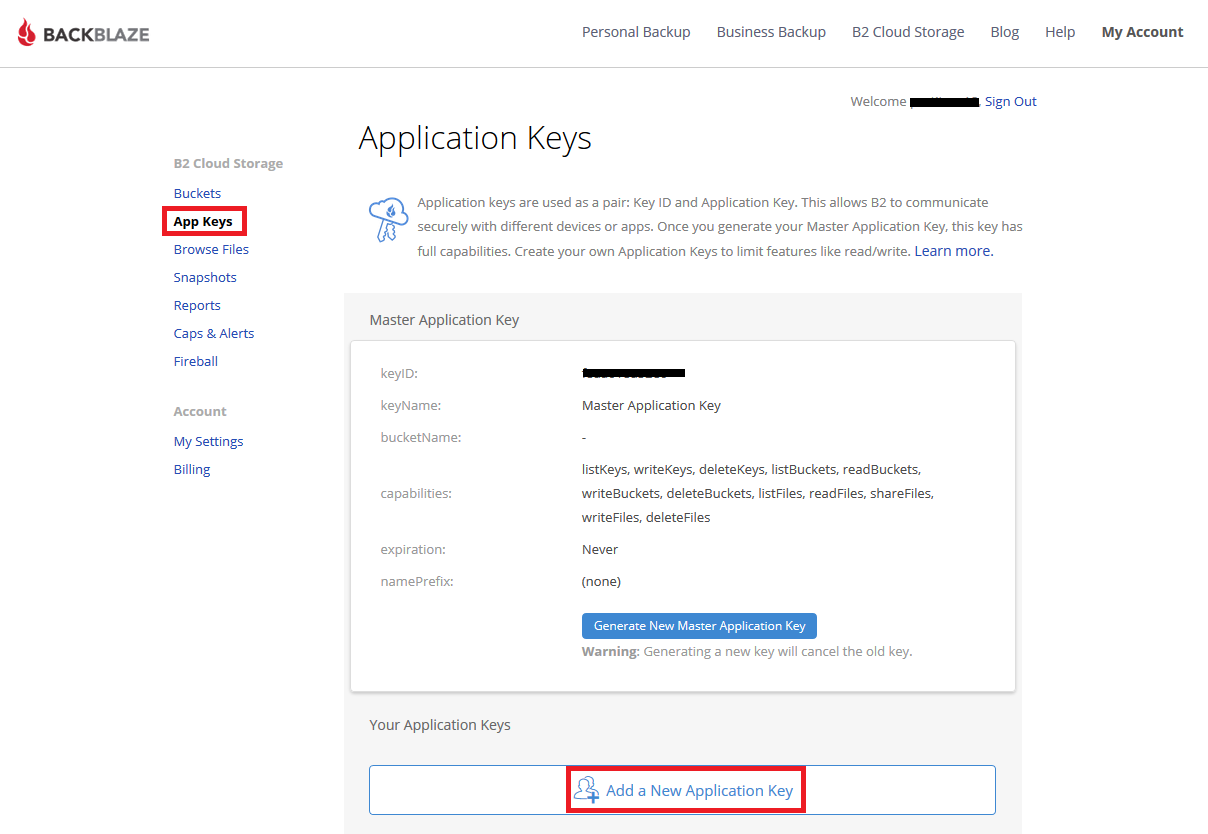
- Go to App Keys page and press Add a new application key
![]()
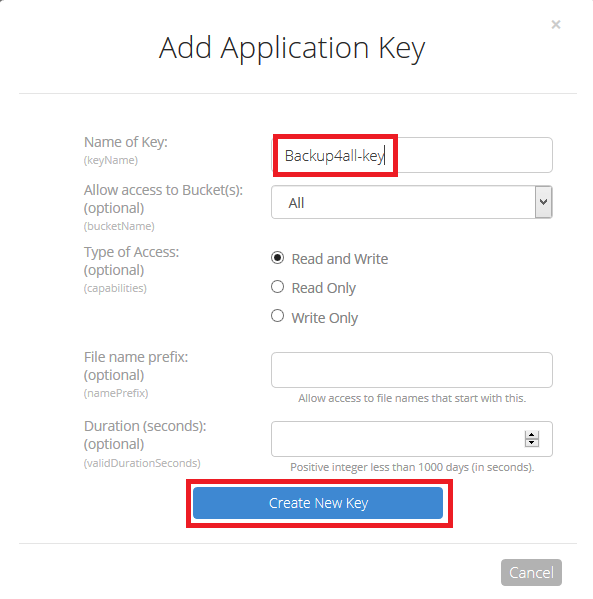
- Enter the name of the key and press Create new key
![]()
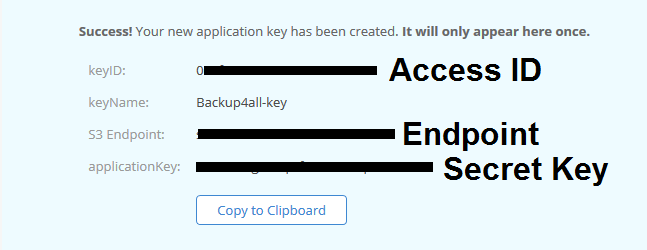
- Then you will get the confirmation page with all necesarily details for backup.
![]()
How to backup to Backblaze using Backup4all
Steps to follow:
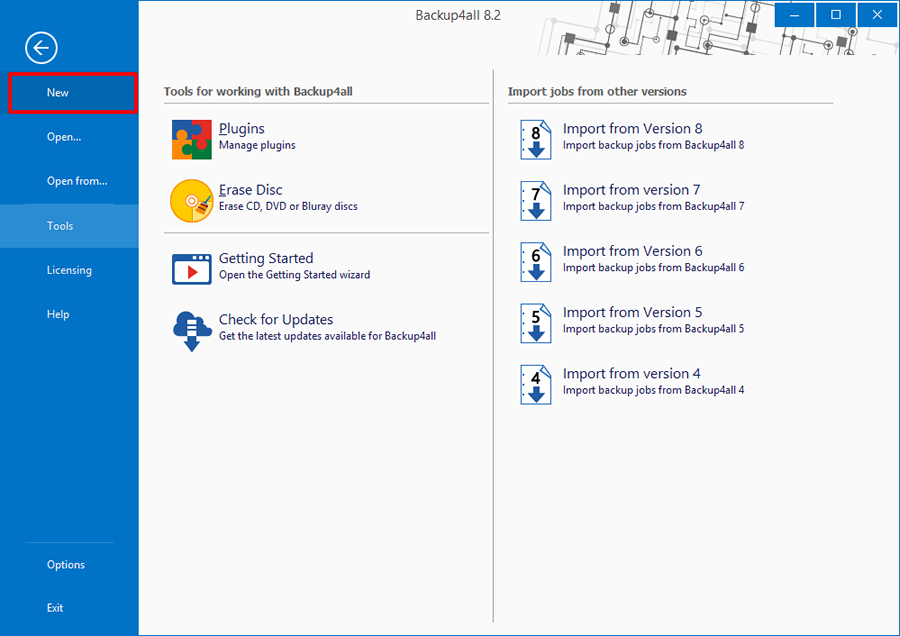
1. Open Backup4all and select File -> New (Ctrl+N).
2. On the Where do you want to save the backup? page, select Online -> S3 Compatible as backup destination.
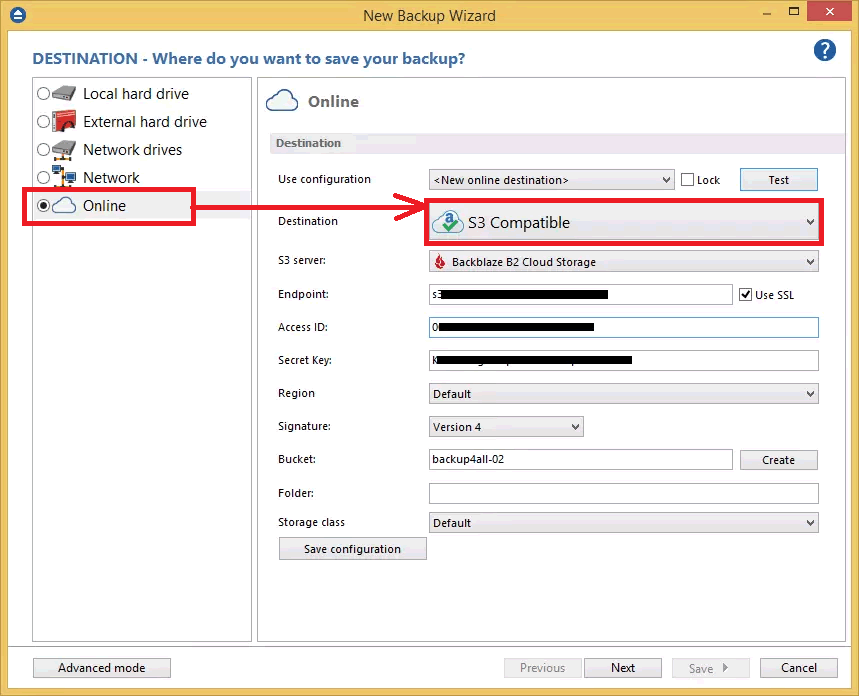
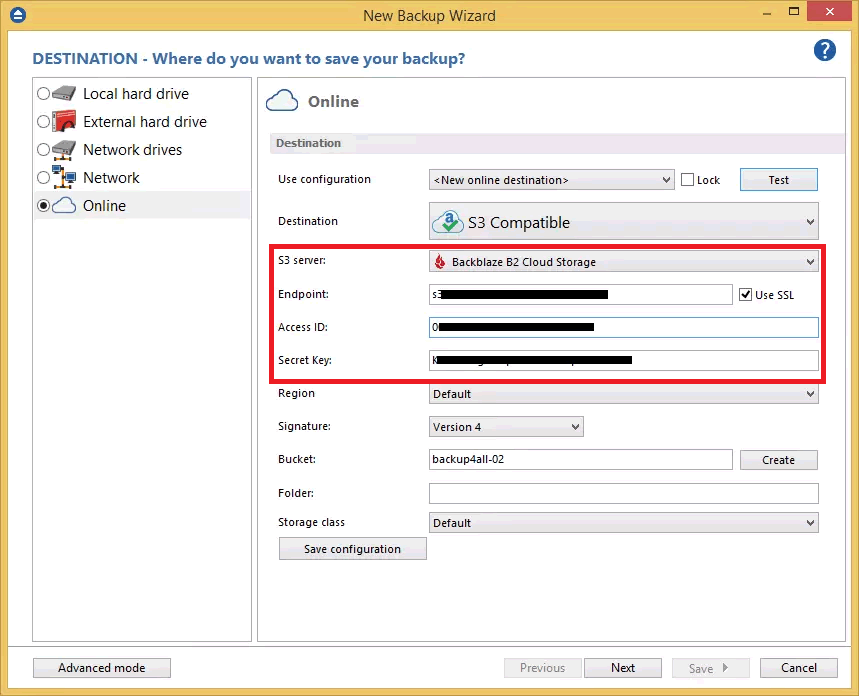
3. After selecting S3 Compatible, you need to choose Backblaze B2. Enter the credentials for Backblaze. Then press Next.
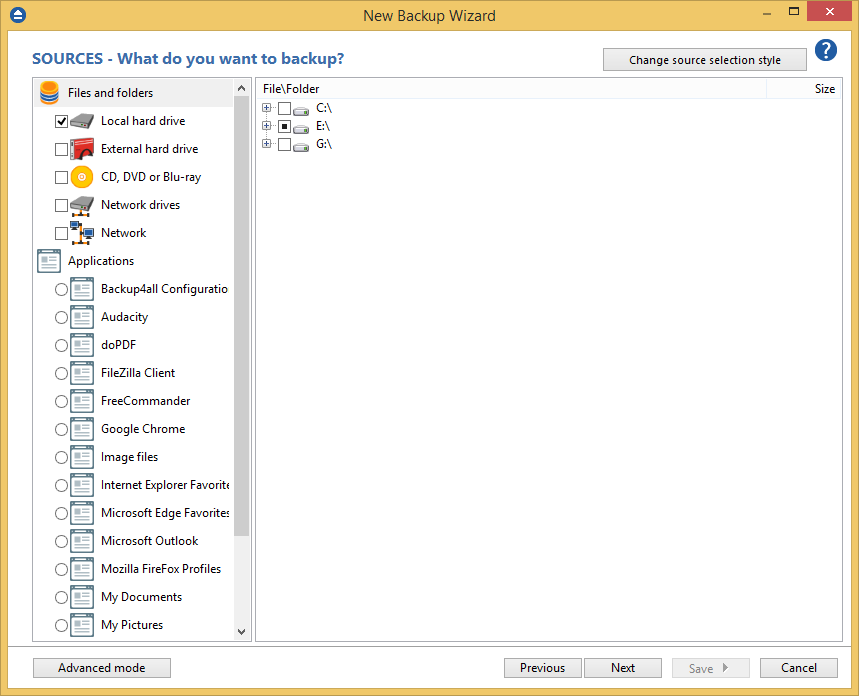
4. On the What do you want to backup page, add the backup sources. Press Next.
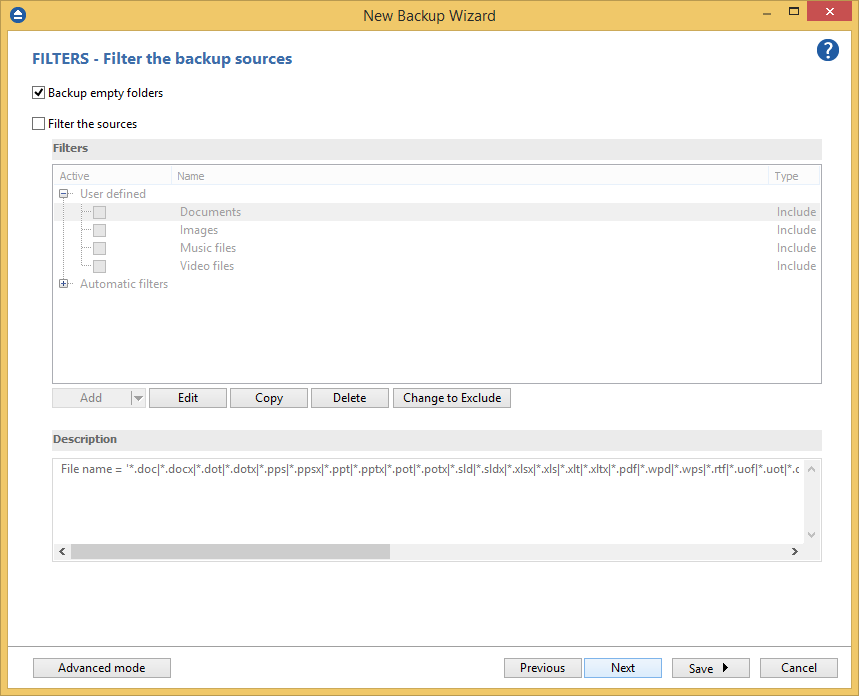
5. On the Filter the backup sources page, you can set include/exclude filters for backup sources. Then press Next.
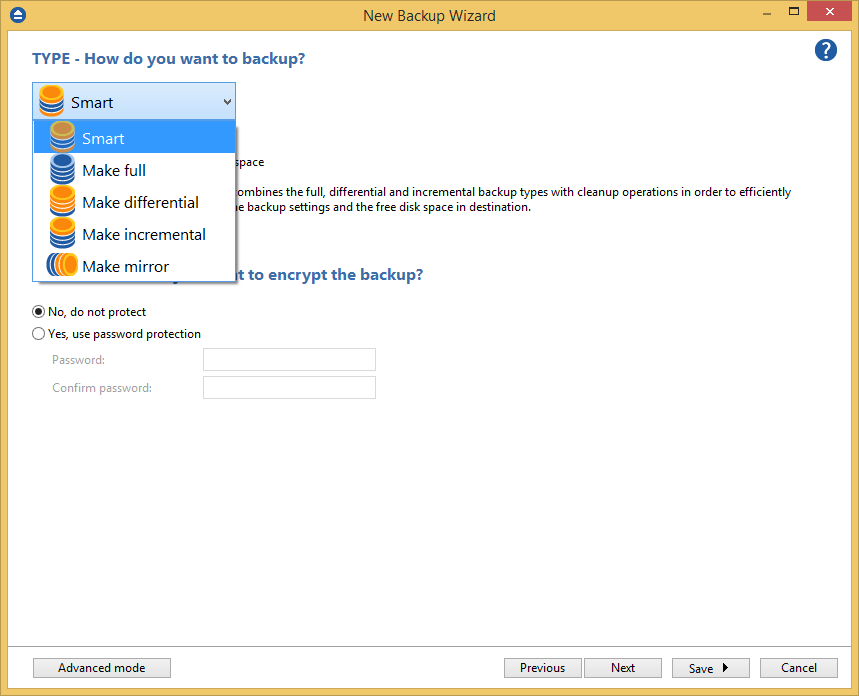
6. On the How do you want to backup page, you can choose the backup type and the encryption.
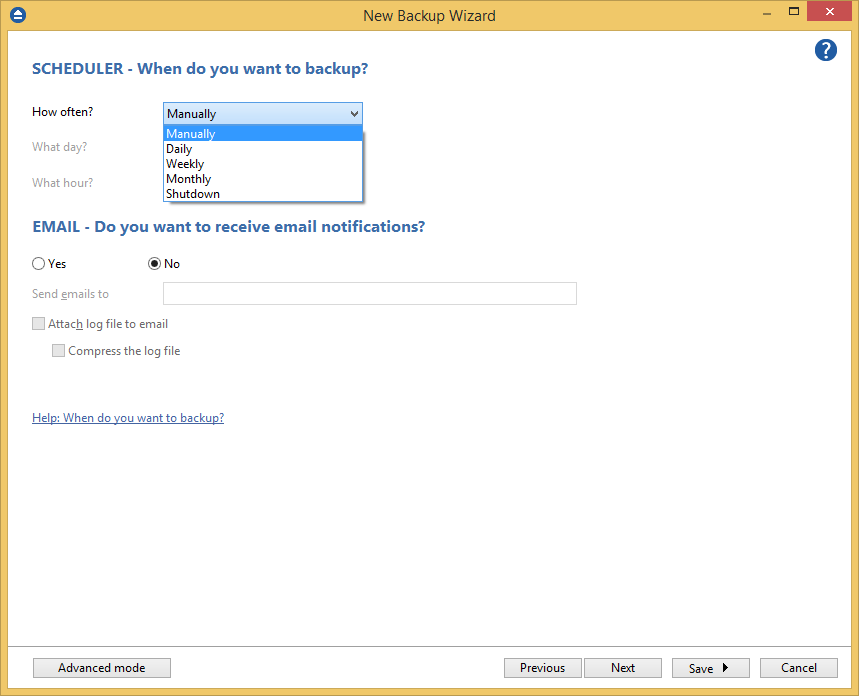
7. On the When do you want to backup page, you can set the backup job to automatically run on the specified time and days. Press Next.
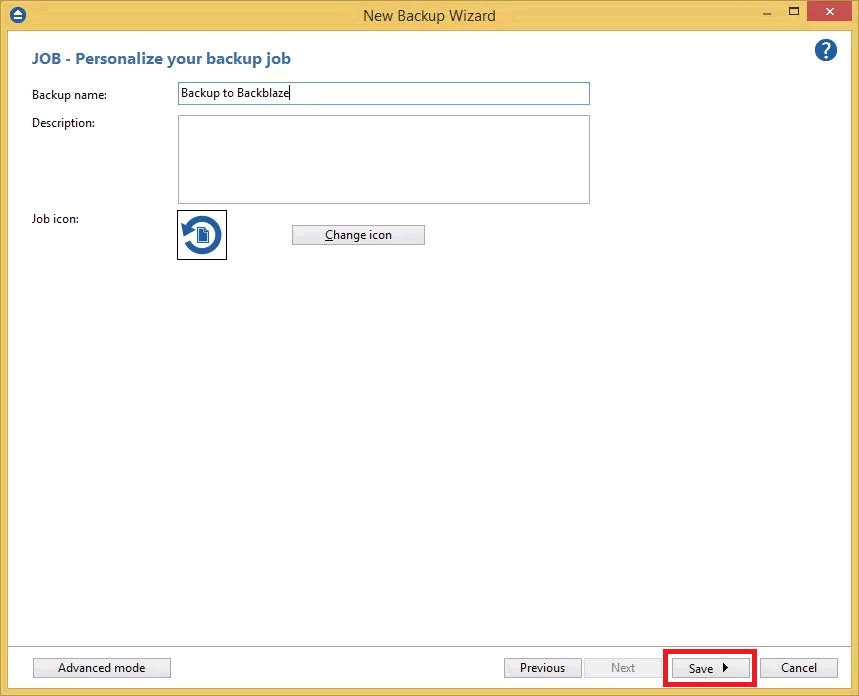
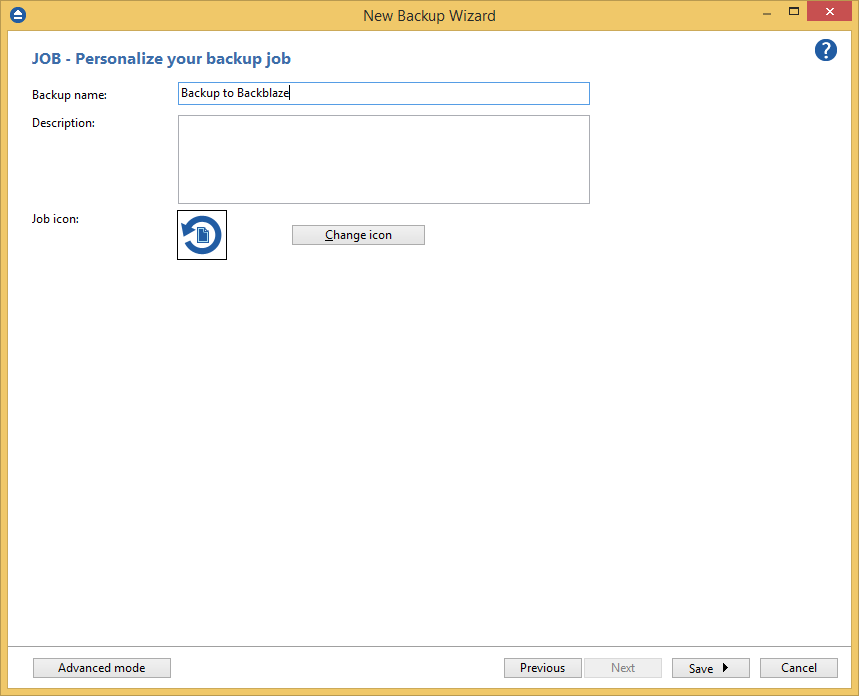
8. On the Personalize your backup job page, enter a name for the backup in the Backup name field.
9. Press Save -> Save and run