Cloudflare R2 is an S3-compatible, zero egress-fee, globally distributed object storage. Move data freely and build the multi-cloud architecture you desire.
Steps to follow when creating a backup to Cloudflare R2 using Backup4all:
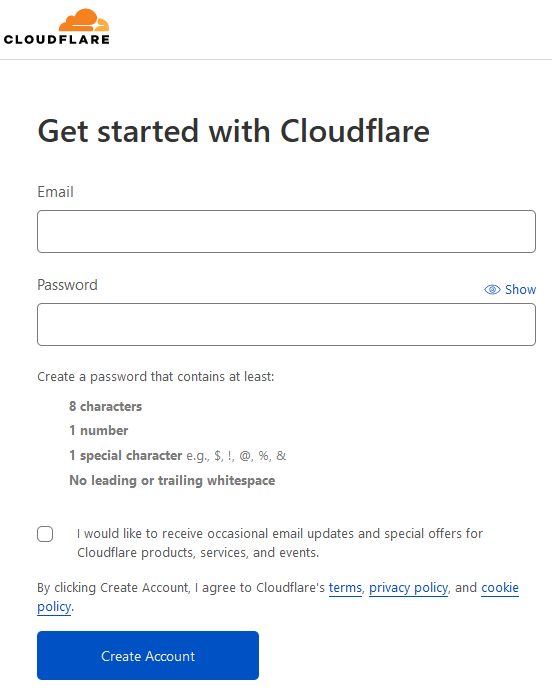
- Create an account or login on Cloudflare.Acess this webpage and follow the steps to create a new account on Cloudflare: https://dash.cloudflare.com/sign-up
![Backup to Cloudflare Back up to Cloudflare]()
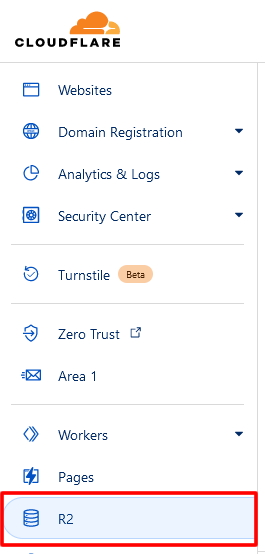
- Go to R2 page from the left column. Cloudflare offers an S3 compatible storage solution.
![Backup to Cloudflare Back up to Cloudflare]()
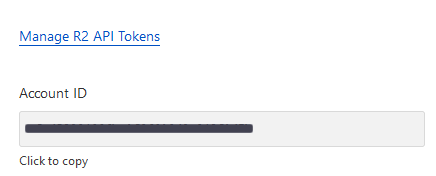
- Press Manage R2 API Tokens link, from the top right side, to create a new API Token.You will need to select an expiration date for that token.
![Backup to Cloudflare Back up to Cloudflare]() You will get the Access Key ID and the Secret Access Key. Use them with the Account ID in Backup4all when you define the Cloudflare destination.
You will get the Access Key ID and the Secret Access Key. Use them with the Account ID in Backup4all when you define the Cloudflare destination. - Open Backup4all and press New button to create a new backup job.That will open the New Backup Wizard.
![Backup to Cloudflare Back up to Cloudflare]()
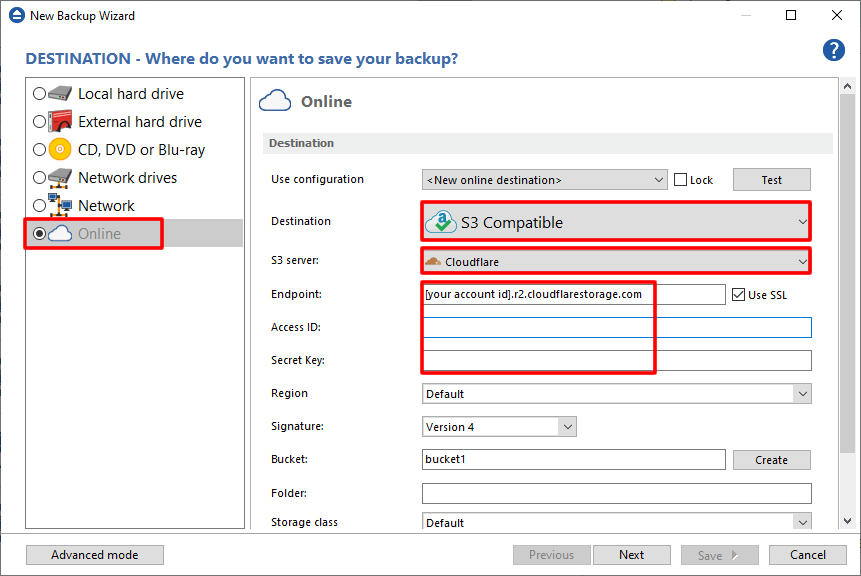
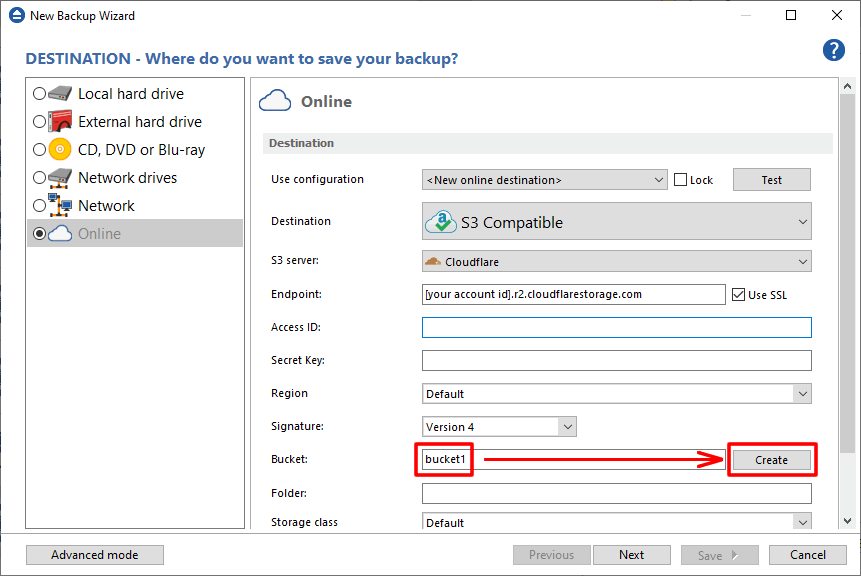
- On Destination page, select Online destination type and select S3 Compatible->Cloudflare as S3 server. There you have to enter the above Access Key, Secret Access Key ID and Account ID.
![Backup to Cloudflare Back up to Cloudflare]()
- Type a new bucket name and press Create, or use an existing bucket name.Optionally you can also use a folder name for destination backup. Then press Next
![Backup to Cloudflare Back up to Cloudflare]()
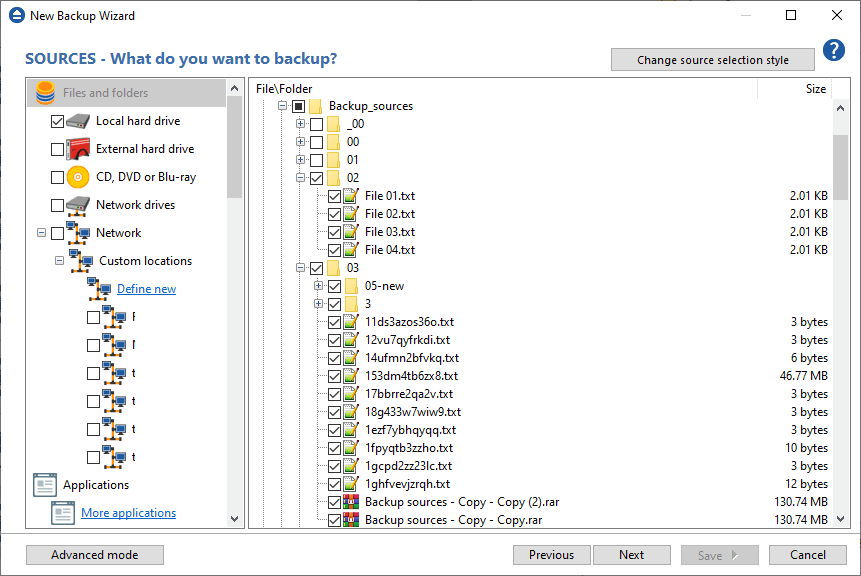
- On Sources page, select the files you want to back up. Then press Next.You can add local sources, network source, plugins or even cloud sources.
![Backup to Cloudflare Back up to Cloudflare]()
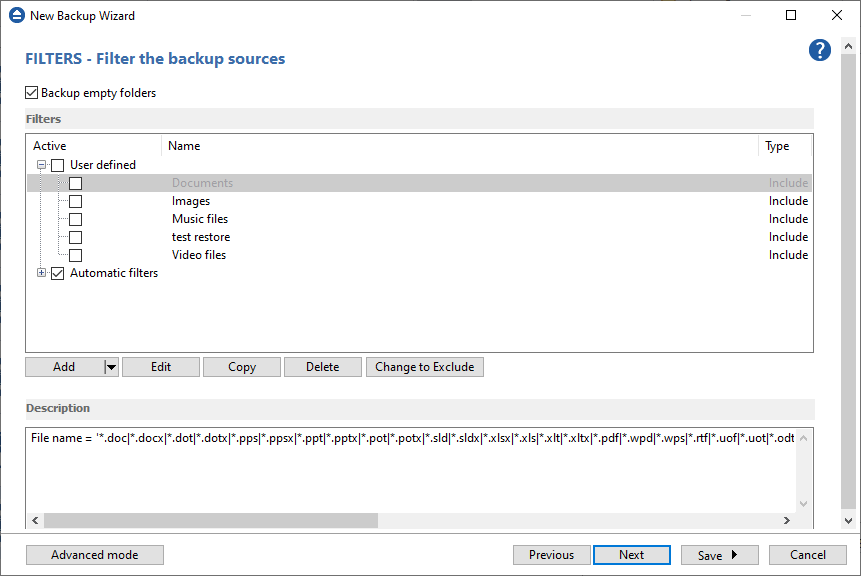
- On Filters page, you can add include or exclude filters for sources. Then press Next.You can use file or folder filter masks to back up only the files you want.
![Backup to Cloudflare Back up to Cloudflare]()
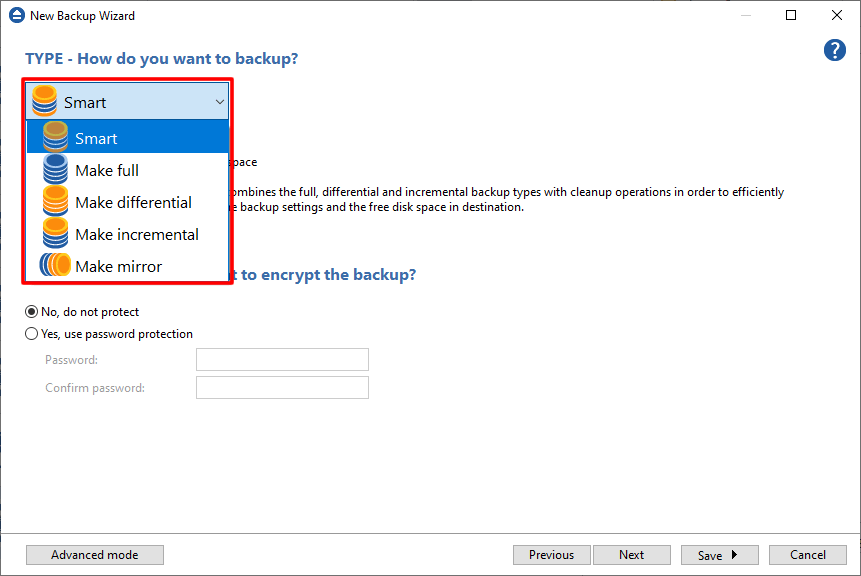
- On Type page, select the backup type you want to use and press Next.On this page you can also enable the encryption for your backup files.
![Backup to Cloudflare Back up to Cloudflare]()
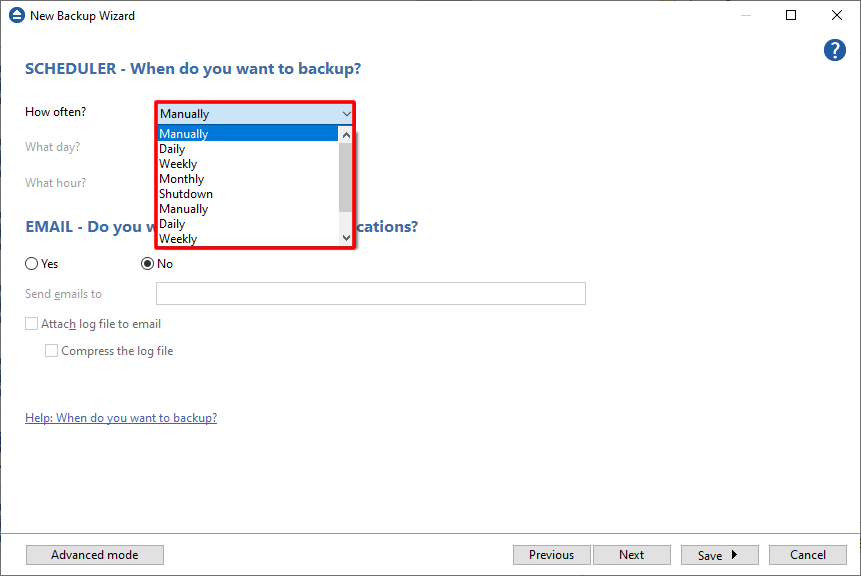
- On Scheduler page you can set the backup to run automatically. Then press Next.On this page you can also enable the email notifications.
![Backup to Cloudflare Back up to Cloudflare]()
- On Job page you can enter the name for the backup job. Then press Save -> Save and run.You can also add a description for that job in the corresponding text area.
![Backup to Cloudflare Back up to Cloudflare]()


